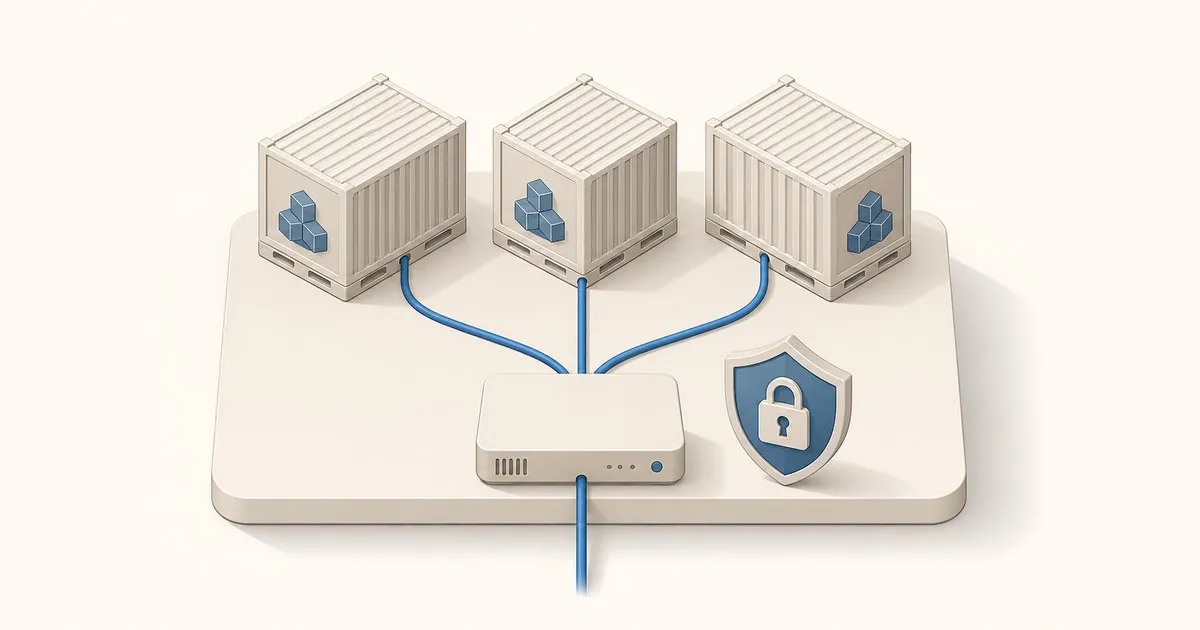
Nginx Proxy Manager Docker Compose Tutorial with Free SSL
A copy-paste Nginx Proxy Manager docker-compose setup: the compose file, the network config that makes container names resolve, and free SSL certs.
This nginx proxy manager docker compose tutorial gets you from “a pile of containers on random ports” to “clean hostnames with valid SSL” in about 20 minutes, using one compose file you can paste as-is. Nginx Proxy Manager (NPM) is the reverse proxy most homelabbers should start with: it is a pre-built Docker image with a web UI that handles proxy hosts, access lists, and free Let’s Encrypt certificates without you ever hand-editing an nginx config. If you have ever typed 192.168.1.50:8096 into your phone, this is the fix. That port belongs to Jellyfin, the service most people put behind a proxy first.
Who this is for (and who should skip it)
This is for you if you run a handful of services in Docker on a mini-PC or NAS and want jellyfin.yourdomain.com instead of IP-and-port roulette. You need a domain you own (any cheap one works, this can stay entirely internal) and basic docker-compose comfort.
Skip NPM if you are already deep into declarative config: Caddy or Traefik with labels will annoy you less long-term, because NPM’s state lives in a database you click at, not in a file you version-control. That is NPM’s real trade-off. The UI that makes it easy on day one makes it harder to rebuild from scratch on day 400, which is why the backup section below is not optional.
The stack
The official setup docs publish a minimal compose file. Here is a slightly hardened version of it, with a named network you will attach other containers to:
services:
  npm:
    image: 'docker.io/jc21/nginx-proxy-manager:2.15.1'
    container_name: nginx-proxy-manager
    restart: unless-stopped
    ports:
      - '80:80'      # HTTP, needed for Let's Encrypt HTTP-01
      - '443:443'    # HTTPS, your actual traffic
      - '81:81'      # admin UI, LAN only, never port-forward this
    volumes:
      - ./data:/data
      - ./letsencrypt:/etc/letsencrypt
    networks:
      - proxy

networks:
  proxy:
    name: proxy
Notes on the choices:
- The version is pinned to
2.15.1, the current release on the project’s GitHub. The docs use:latest; on a reverse proxy that everything else depends on, pin it and upgrade deliberately. - No database service. NPM defaults to SQLite in
/data, and for a homelab that is the right answer. The docs cover MySQL/MariaDB and Postgres viaDB_MYSQL_*/DB_POSTGRES_*environment variables, but a second container to manage (and back up) buys you nothing at this scale. - Bind mounts, not named volumes, so your config sits next to the compose file where your backup job can see it.
Bring it up with docker compose up -d (Compose v2 syntax, per the Docker Compose docs). First start takes a couple of minutes while it generates keys and initializes the database, so don’t panic-restart it. Then open http://<server-ip>:81. The default login is admin@example.com / changeme, and NPM forces you to change both immediately. The current official docs only say “a default admin user will be created,” so if a future version changes this, check docker compose logs npm.
Wiring up your first service
The part every NPM tutorial glosses over: how the proxy actually reaches your other containers. Put them on the same proxy network and Docker’s internal DNS does the rest. In your other service’s compose file:
services:
  jellyfin:
    image: 'jellyfin/jellyfin'
    restart: unless-stopped
    networks:
      - proxy
    # note: no ports section needed for proxied traffic

networks:
  proxy:
    external: true
Now in the NPM UI: Hosts → Proxy Hosts → Add Proxy Host. Domain name jellyfin.yourdomain.com, scheme http, forward hostname jellyfin (the container name resolves on the shared network), forward port 8096 (the container’s internal port, not a published one). Enable “Block Common Exploits” and “Websockets Support” while you are there; half of all “my app half-works behind the proxy” complaints on r/selfhosted are missing websockets.
The payoff of this pattern: services behind the proxy no longer need ports: entries at all. Fewer published ports means a smaller attack surface and no more port-number bookkeeping. The mechanics of why that works are in our Docker Compose networking guide.
SSL: HTTP-01 vs DNS-01, and why you probably want the wildcard
For a public-facing setup, request a cert in the proxy host’s SSL tab and NPM runs the standard HTTP-01 challenge, which per Let’s Encrypt’s challenge documentation requires port 80 reachable from the internet so the CA can fetch a token from your server.
For a lab that stays internal, or if you want one cert covering every service, use DNS-01 instead. NPM’s SSL Certificates screen has a “Use a DNS Challenge” toggle with built-in support for Cloudflare, deSEC, and dozens of other providers; you paste an API token and NPM proves domain ownership by publishing a TXT record. Two reasons this is the better default for homelabs: DNS-01 is the only challenge type that can issue wildcard certificates (*.yourdomain.com), and it works with port 80 closed, so nothing needs to be exposed to the internet at all. The one real cost, which Let’s Encrypt’s docs are candid about, is that a DNS API credential now lives on your server, so scope that token as narrowly as your provider allows.
Backups, or: your proxy config is a database now
Everything you click in the UI lands in ./data (SQLite database, generated nginx configs) and ./letsencrypt (your certs). Lose those directories and you are rebuilding every proxy host from memory. The backup is boringly simple, which is exactly why people skip it:
docker compose stop npm
tar czf npm-backup-$(date +%F).tar.gz data letsencrypt
docker compose start npm
Ship that tarball somewhere that is not the same disk, and actually run the restore drill once: fresh directory, untar, docker compose up -d, confirm the UI still knows your hosts. Ten minutes now versus an evening of reconstruction at month 9.
Two closing operational notes. First, never expose port 81 past your LAN; the admin UI plus a password is not something the open internet should get to guess at. If you want remote admin access, put it behind Tailscale or a VPN rather than a port-forward. Second, a reverse proxy is the front door to everything you host, so patch it like it matters. If you want label-driven config instead of a database you click at, compare it against Traefik. Watching the project’s GitHub releases page is the lightest-weight habit that actually catches proxy and TLS fixes.
Related across the network
- Keycloak Behind a Reverse Proxy: Fix 403 and Hostname Errors — keycloakops.com
- Self-Hosted Notion and Docs Alternatives — selfhostrealm.com
Sources
Related

How to Set Up Traefik with Docker Compose (HTTP and HTTPS)
A step-by-step guide to running Traefik as a reverse proxy with Docker Compose: HTTP routing, automatic HTTPS via Let's Encrypt, and dashboard security.

Jellyfin Hardware Transcoding in Docker: QSV, NVENC, VA-API
Configure Jellyfin hardware transcoding in Docker Compose: copy-paste blocks for Intel QSV, NVIDIA NVENC and AMD VA-API, plus what to check when it fails.

Best Docker Containers for Your Home Server in 2026
A practical homelab operator's guide to the best docker containers for home server use: Jellyfin, Vaultwarden, Nextcloud, Tailscale and a dozen more.